
Don't miss out! Check out what's new on Stockimg.ai. Also, don't forget to check out other guides!
Welcome aboard! Get ready to unlock your creative potential with the Stockimg dashboard.
In this guide, we will walk you through how to use the Stockimg dashboard, from generating images to managing your social media content.
Table of Contents
Dashboard Overview
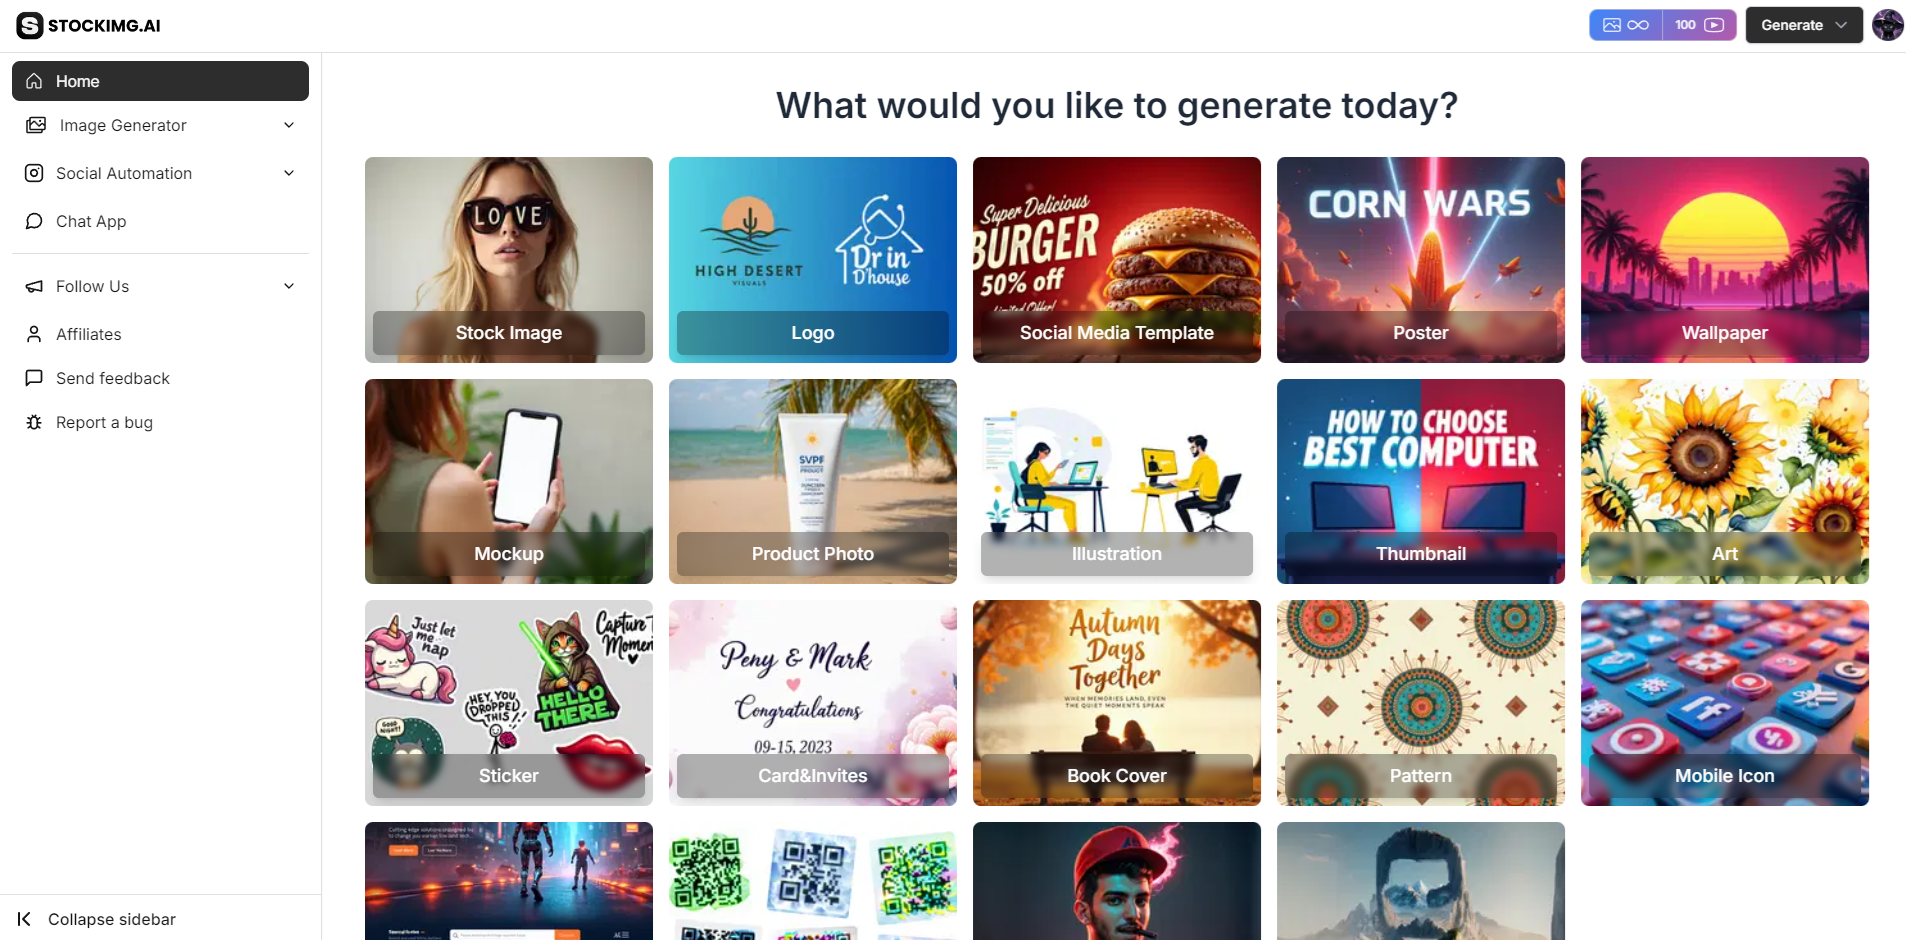
When you first log into Stockimg.ai, you'll be greeted with the Dashboard. This is your central hub, giving you quick access to image generation, your history, and the Stockimg Social Suite. From here, you can manage your content creation, track past projects, and dive into editing tools.
Generating Images
Generate Page
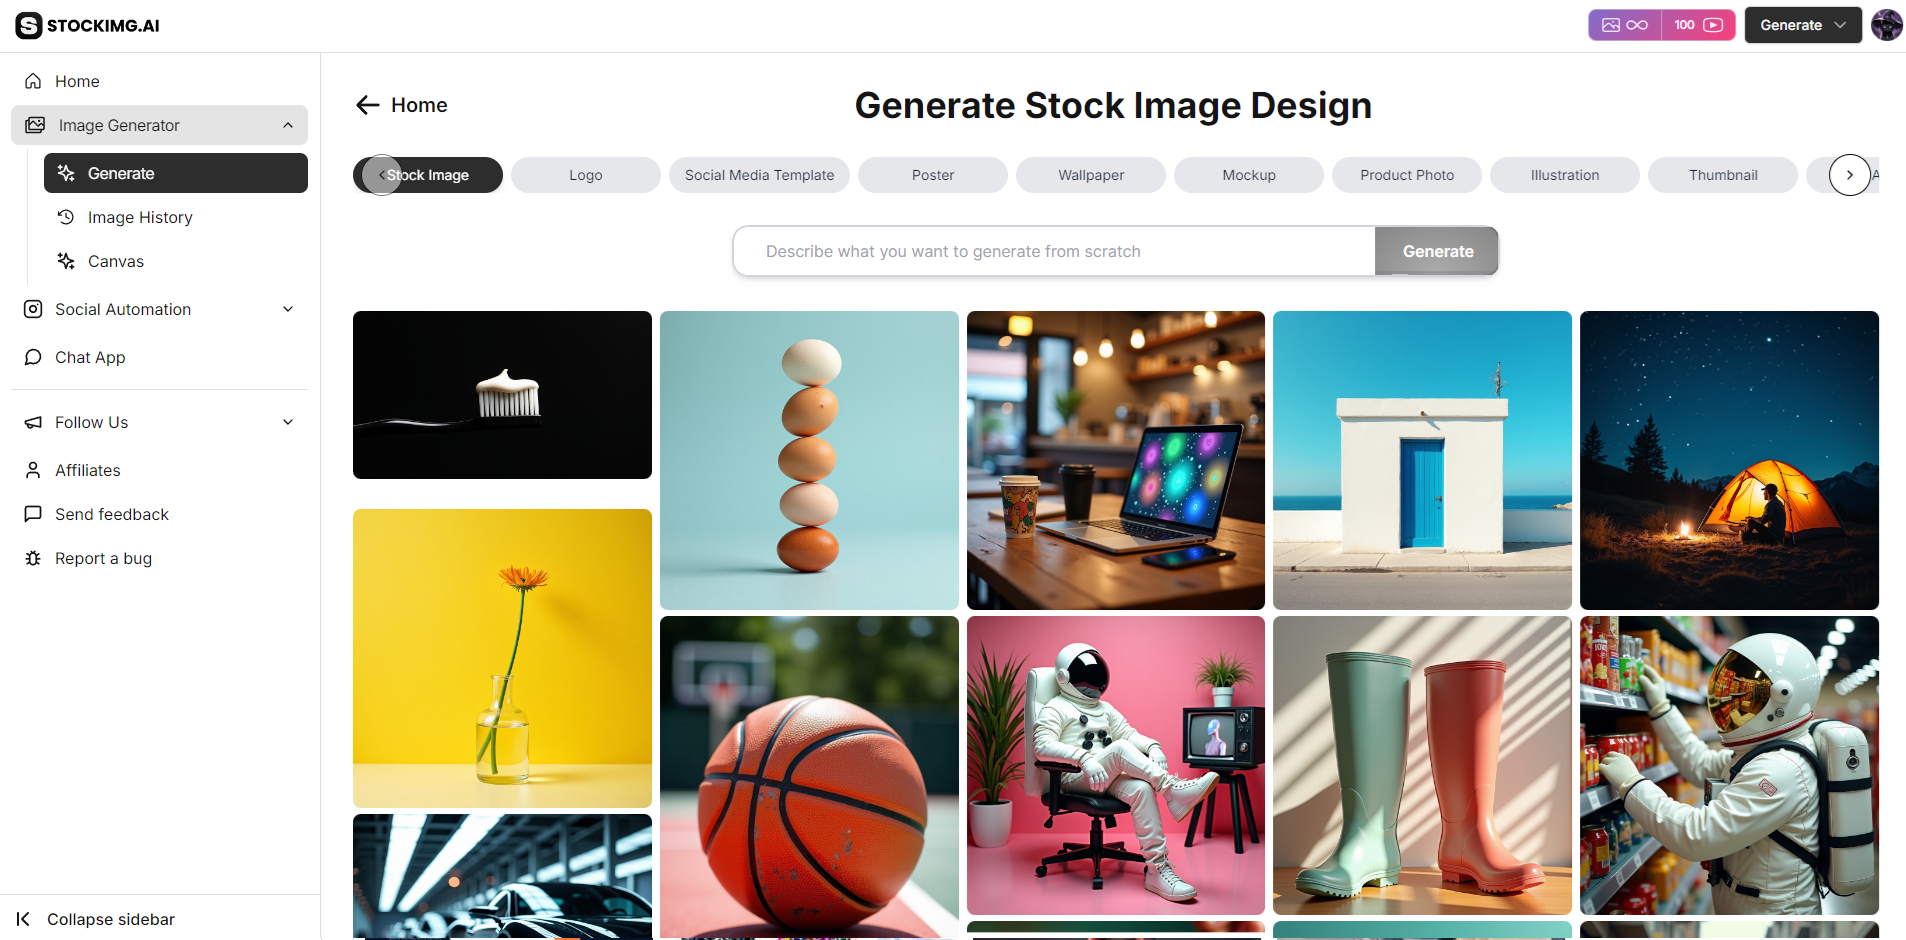
On the "Generate Page," you can use AI to create stunning visuals with minimal effort. Just input your prompt, select your AI model, choose your image dimensions (spoiler: you can change these later!), and hit generate. Stockimg’s AI will create a unique image for you, tailored to your needs.
Categories
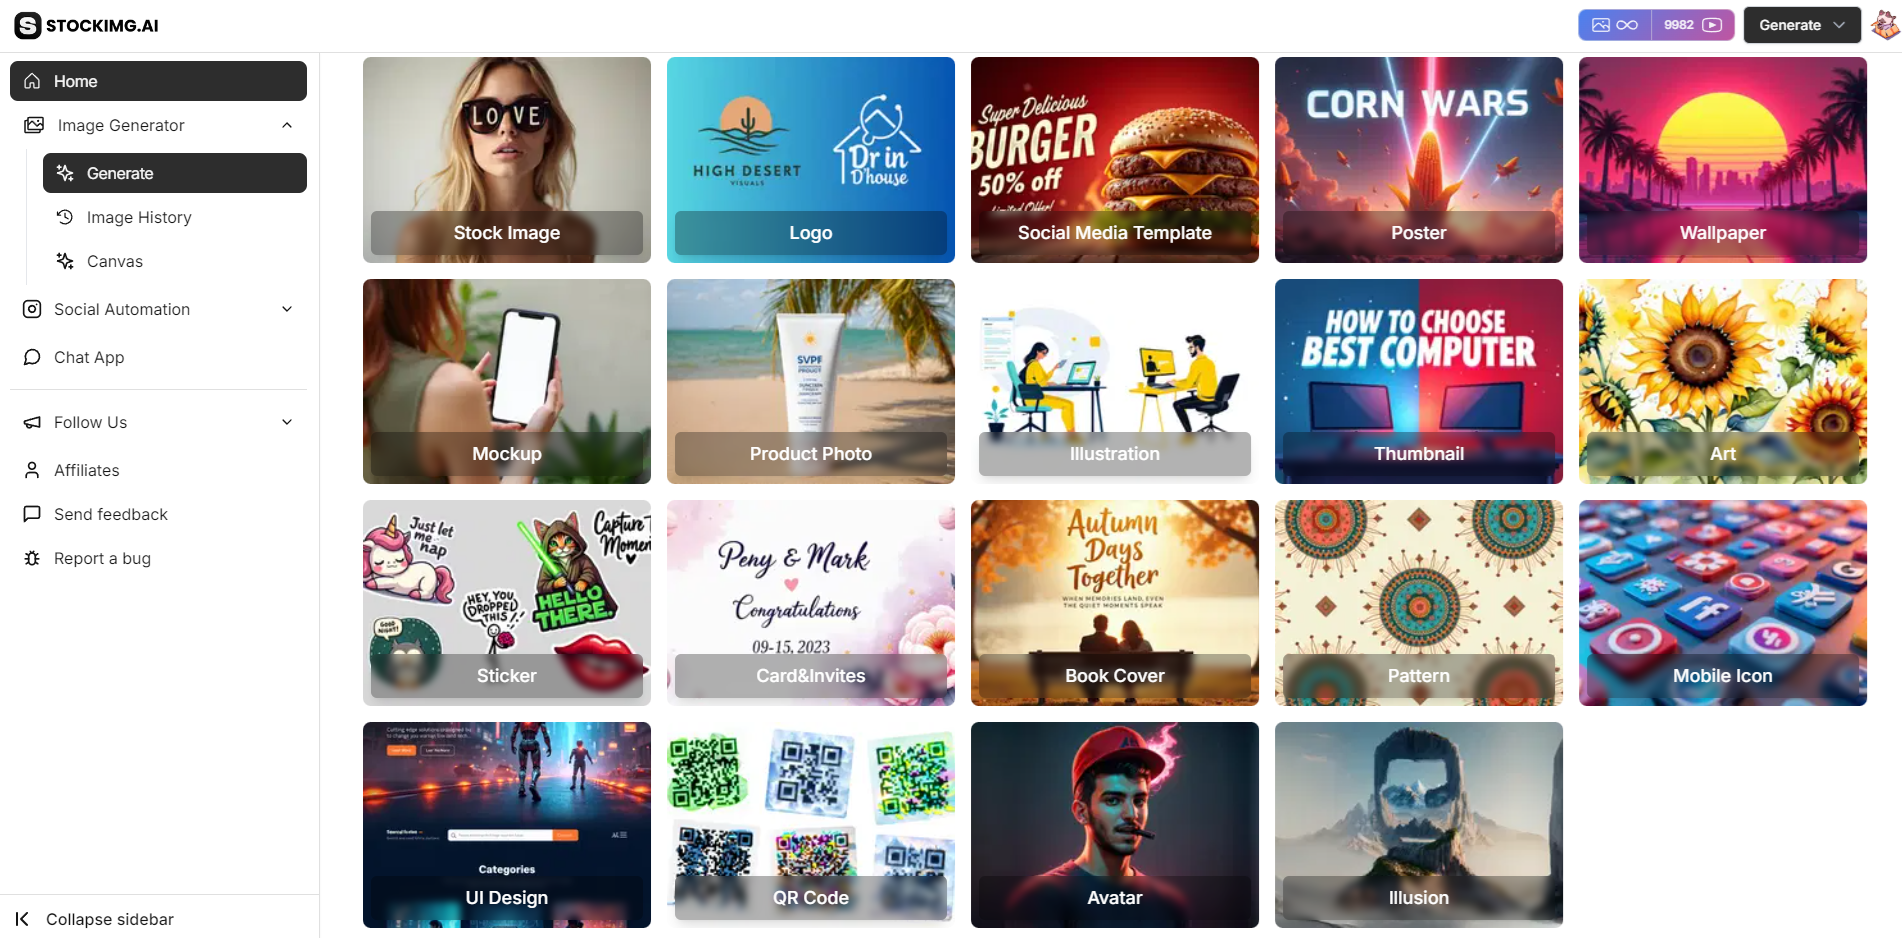
When you enter the dashboard or on the up bar, you'll find different image categories to help you quickly find what you're looking for. From stock image designs to complex social media templates, select the category that fits your project best.
Here are the available categories:
- Mockup: New Category!
- Sticker: New Category!
- Cards & Invitations: New Category!
- Pattern: New Category!
- Thumbnail: New Category!
- Social Media Template: New Category!
- Stock Image
- Logo
- Book Cover
- Poster
- Wallpaper
- UI Design
- QR Code
- Avatar
- Illusion
- Product Photo
- Mobile Icon
- Illustration
Editing Images With AI
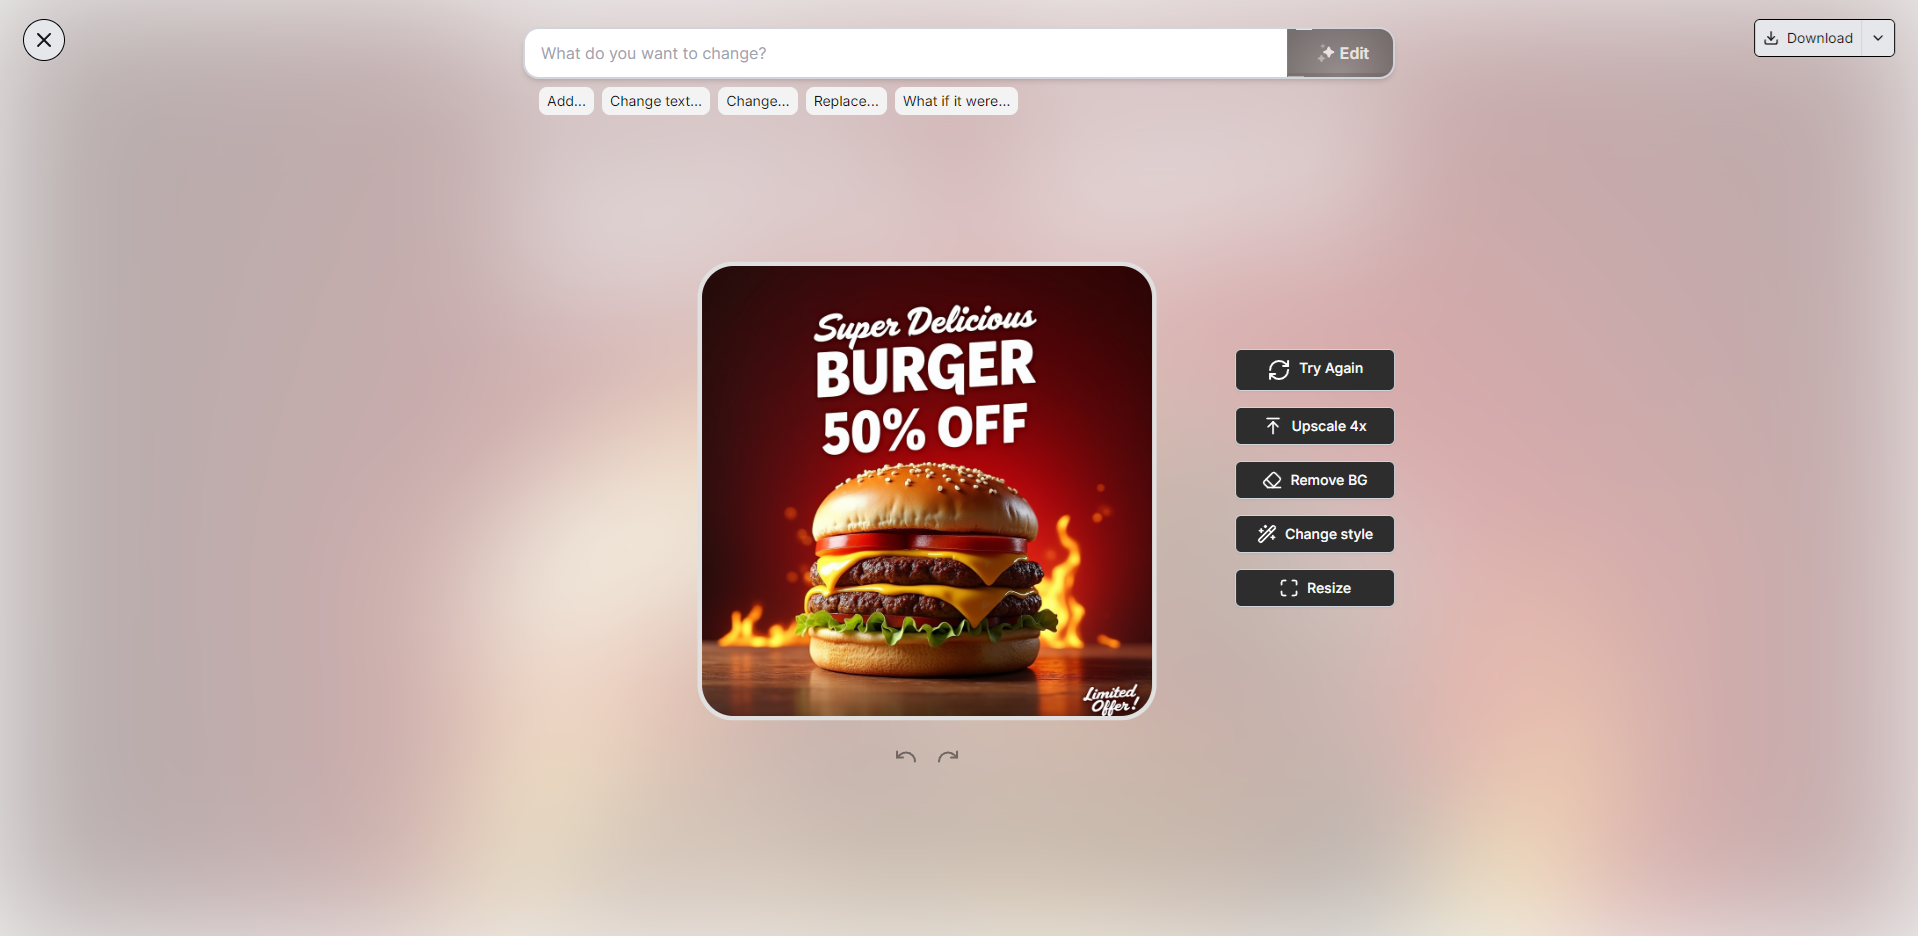
After generating an image, you can further refine it using Stockimg’s AI-powered editing tools. Recreate, adjust details, or even change key elements of the image like chatting your friend. The editor is designed to be simple yet powerful, giving you full control over your visuals.
History
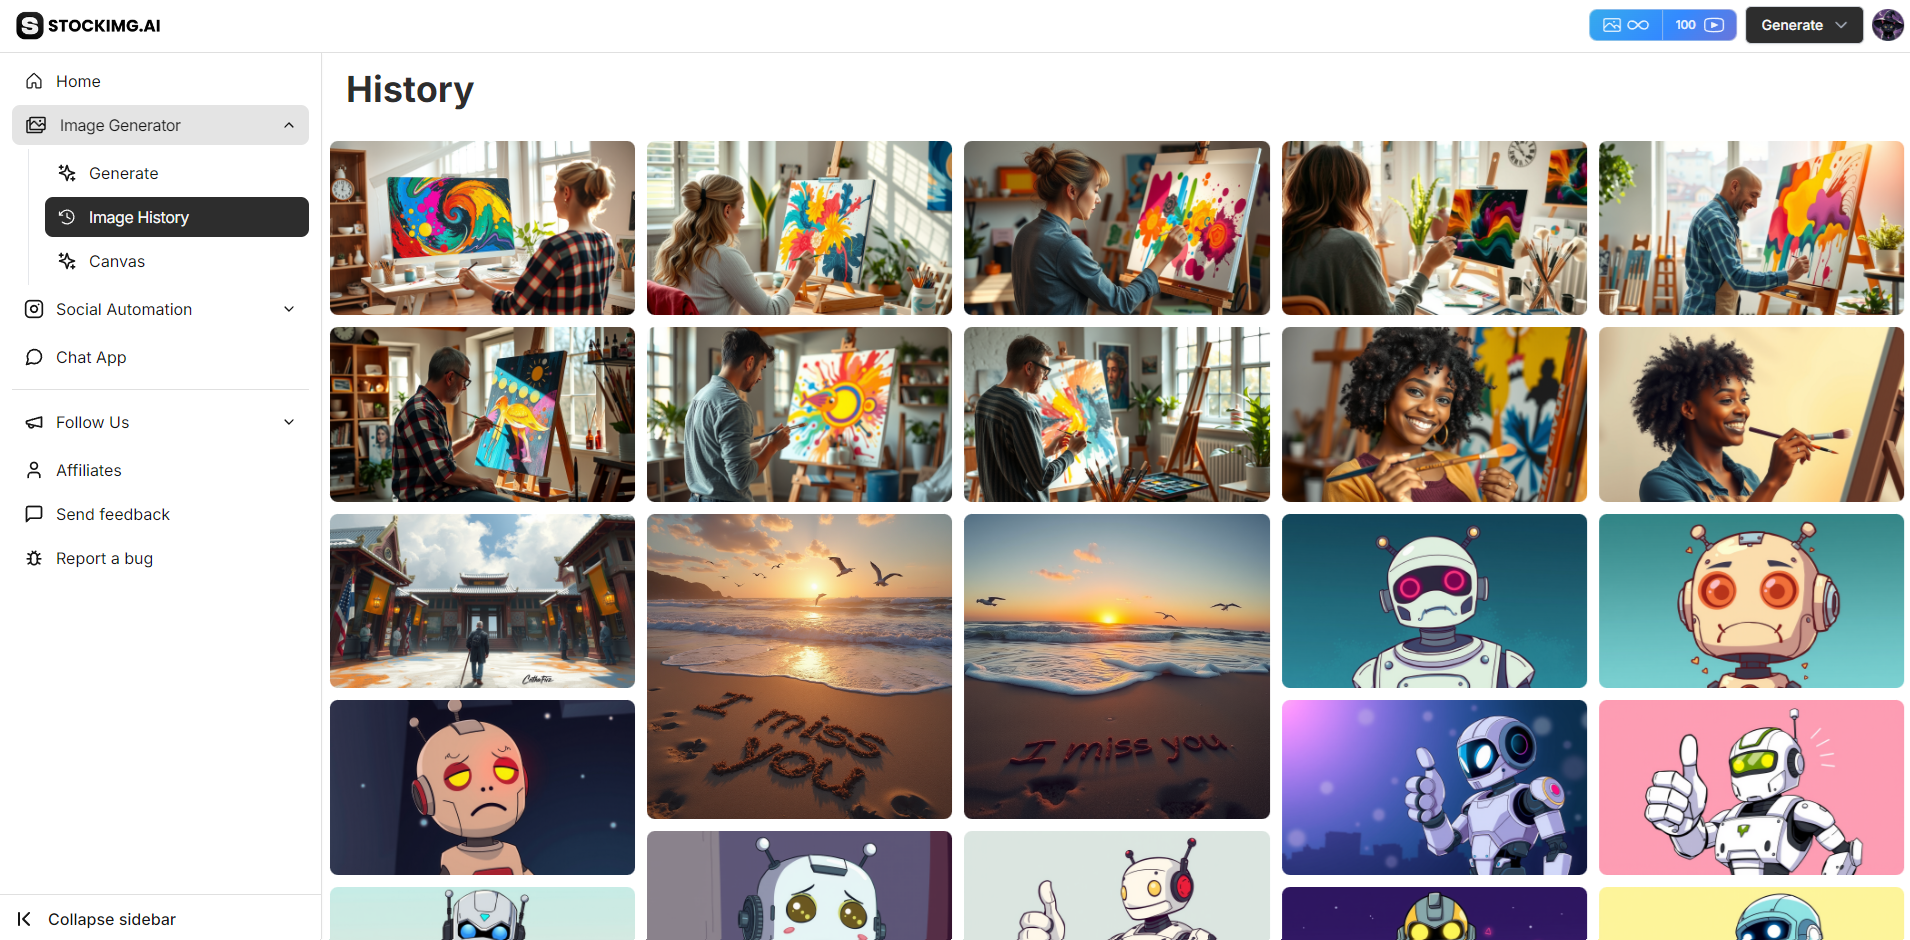
Your history page keeps track of all the images you've generated. It makes it easy to revisit, re-download, or re-edit past creations. If you're working on a long-term project, this will be your go-to place to track progress.
Canvas
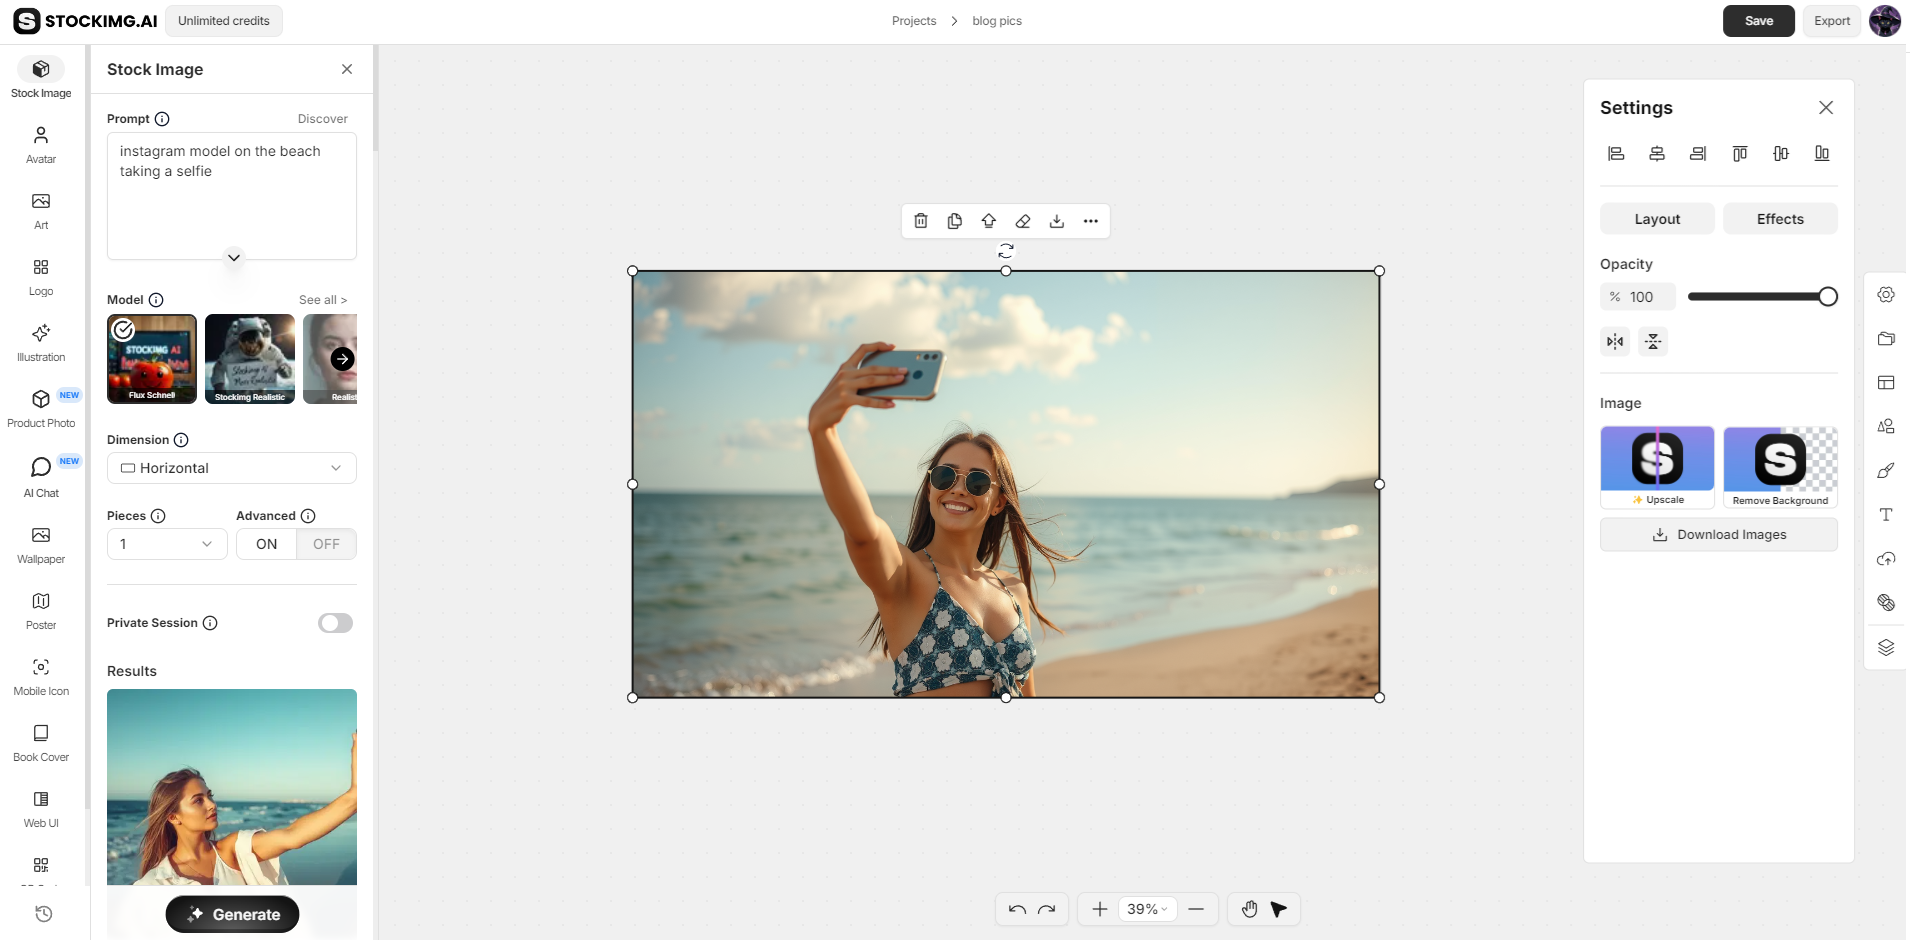
The Canvas feature is where you can combine multiple images, add custom text, and create more complex designs. Use it to create social media posts, banners, or any composite image. This tool is particularly useful for more intricate projects that require layering or specific adjustments.
Stockimg Social Suite
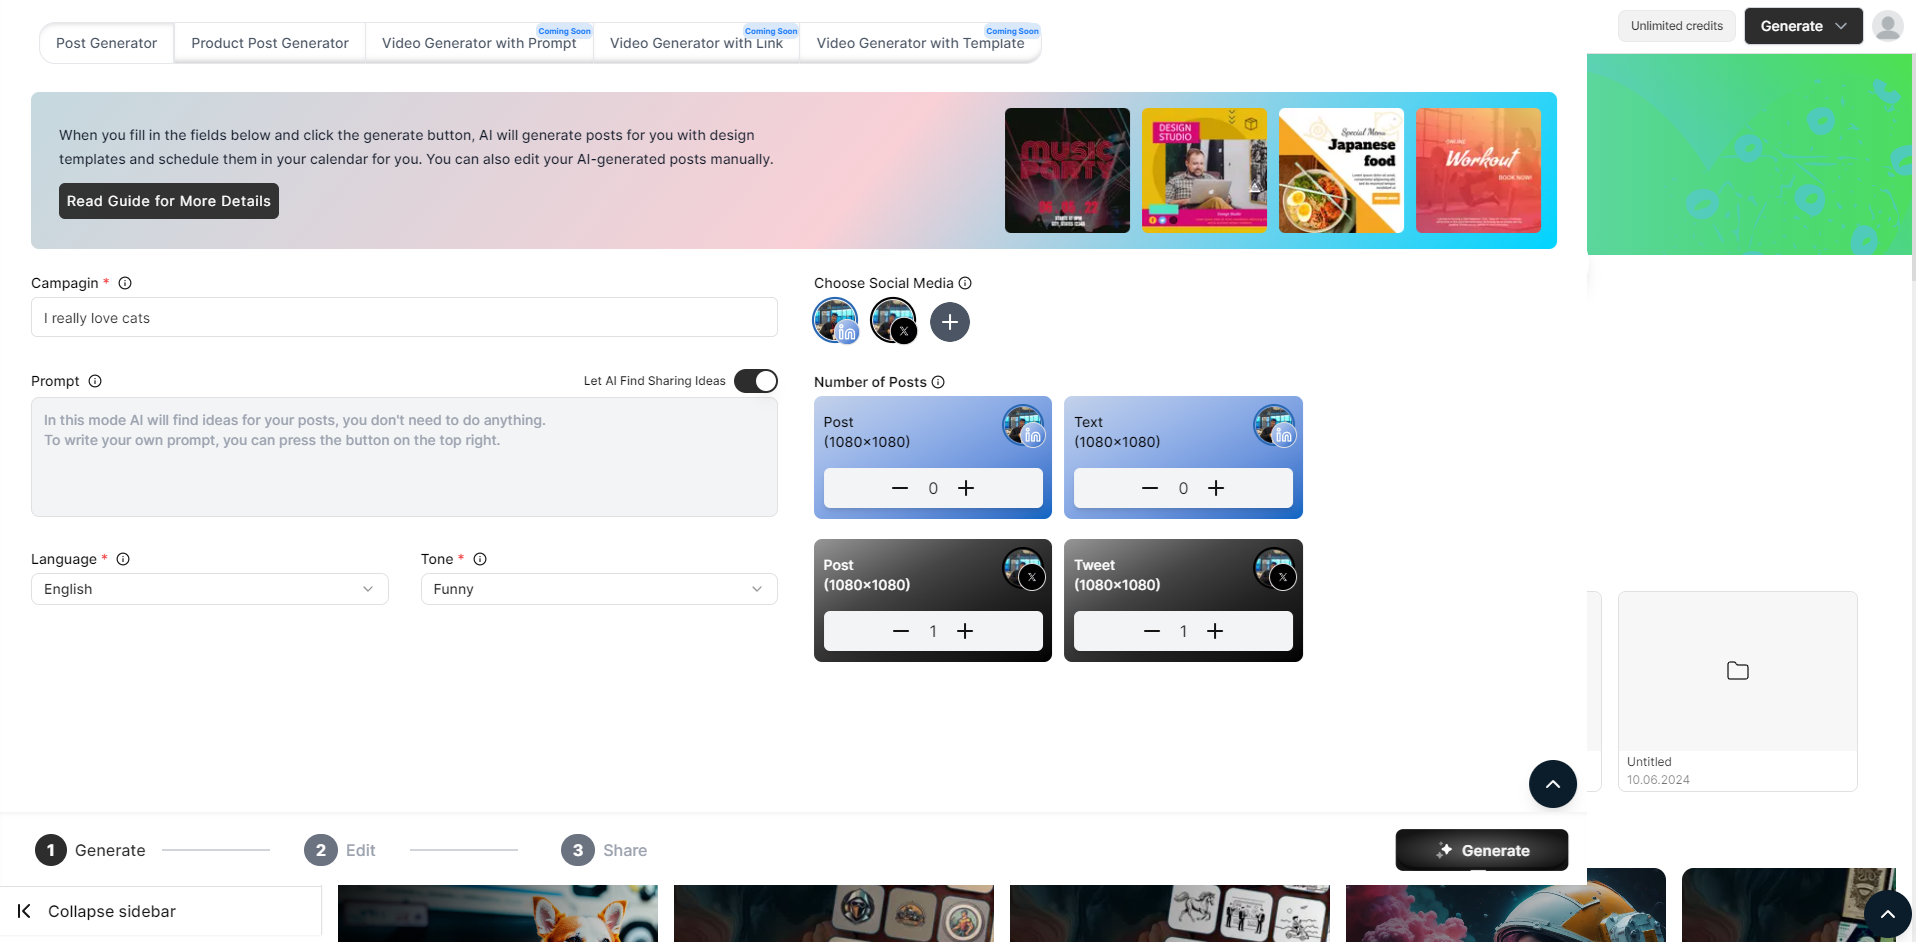
For creators managing multiple platforms, the Stockimg Social Suite is a game changer. It allows you to generate, schedule, and post AI-generated content across your connected accounts. Whether you need image posts or videos, this is your workspace.
AI Post Generator
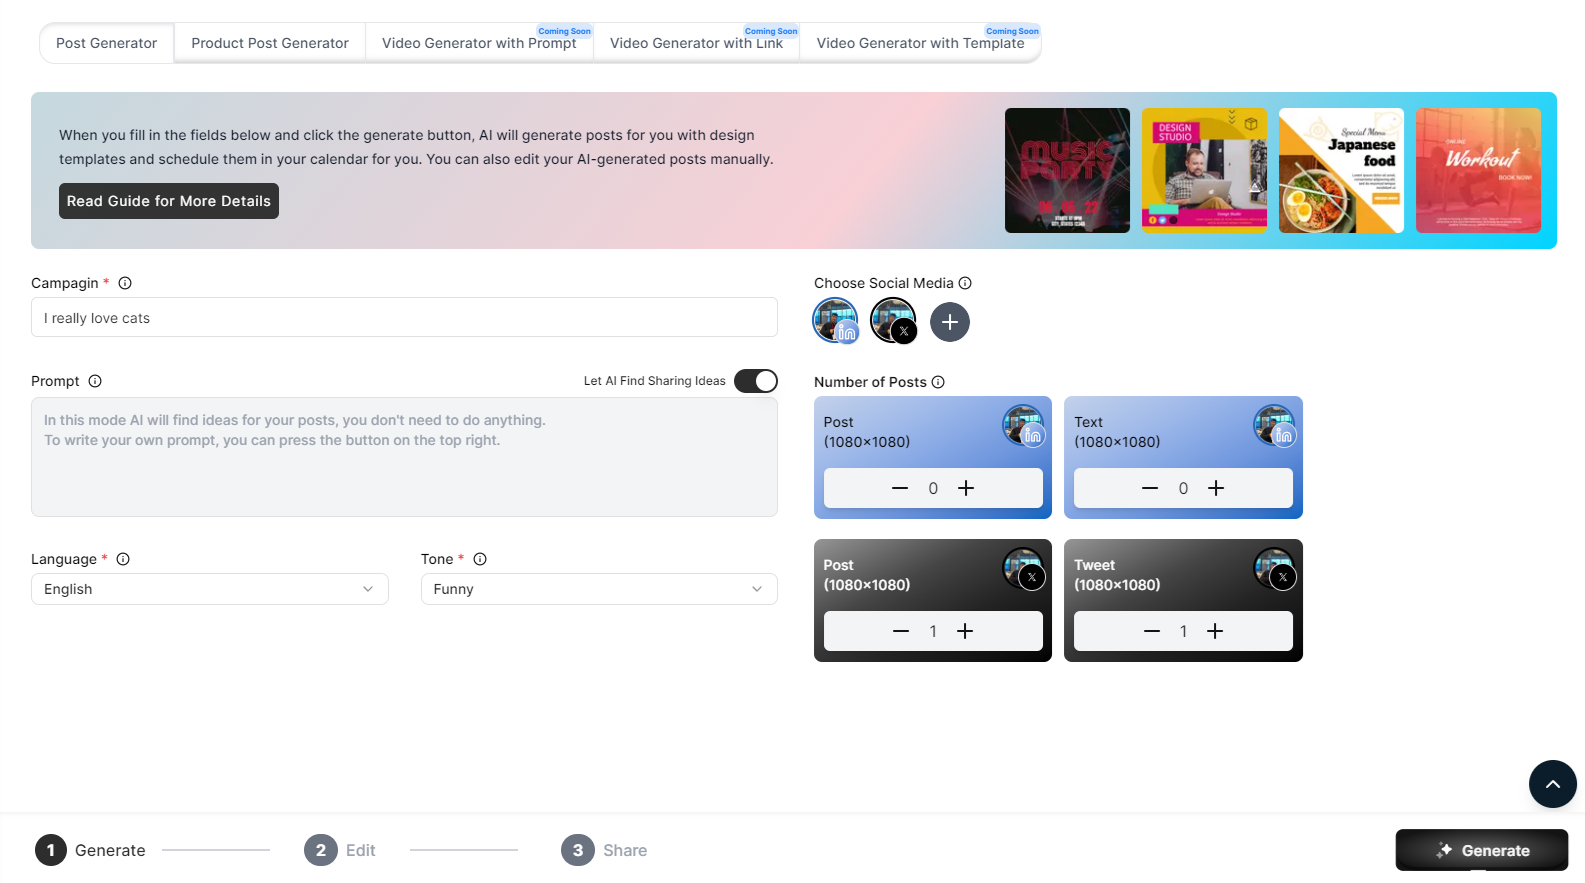
The AI Post Generator helps you create engaging posts for social media in seconds. Just input a few details about your campaign, and Stockimg will suggest content ideas, layouts, and designs ready for you to share across platforms like Instagram, Twitter, TikTok, YT Shorts etc.
AI Video Generator
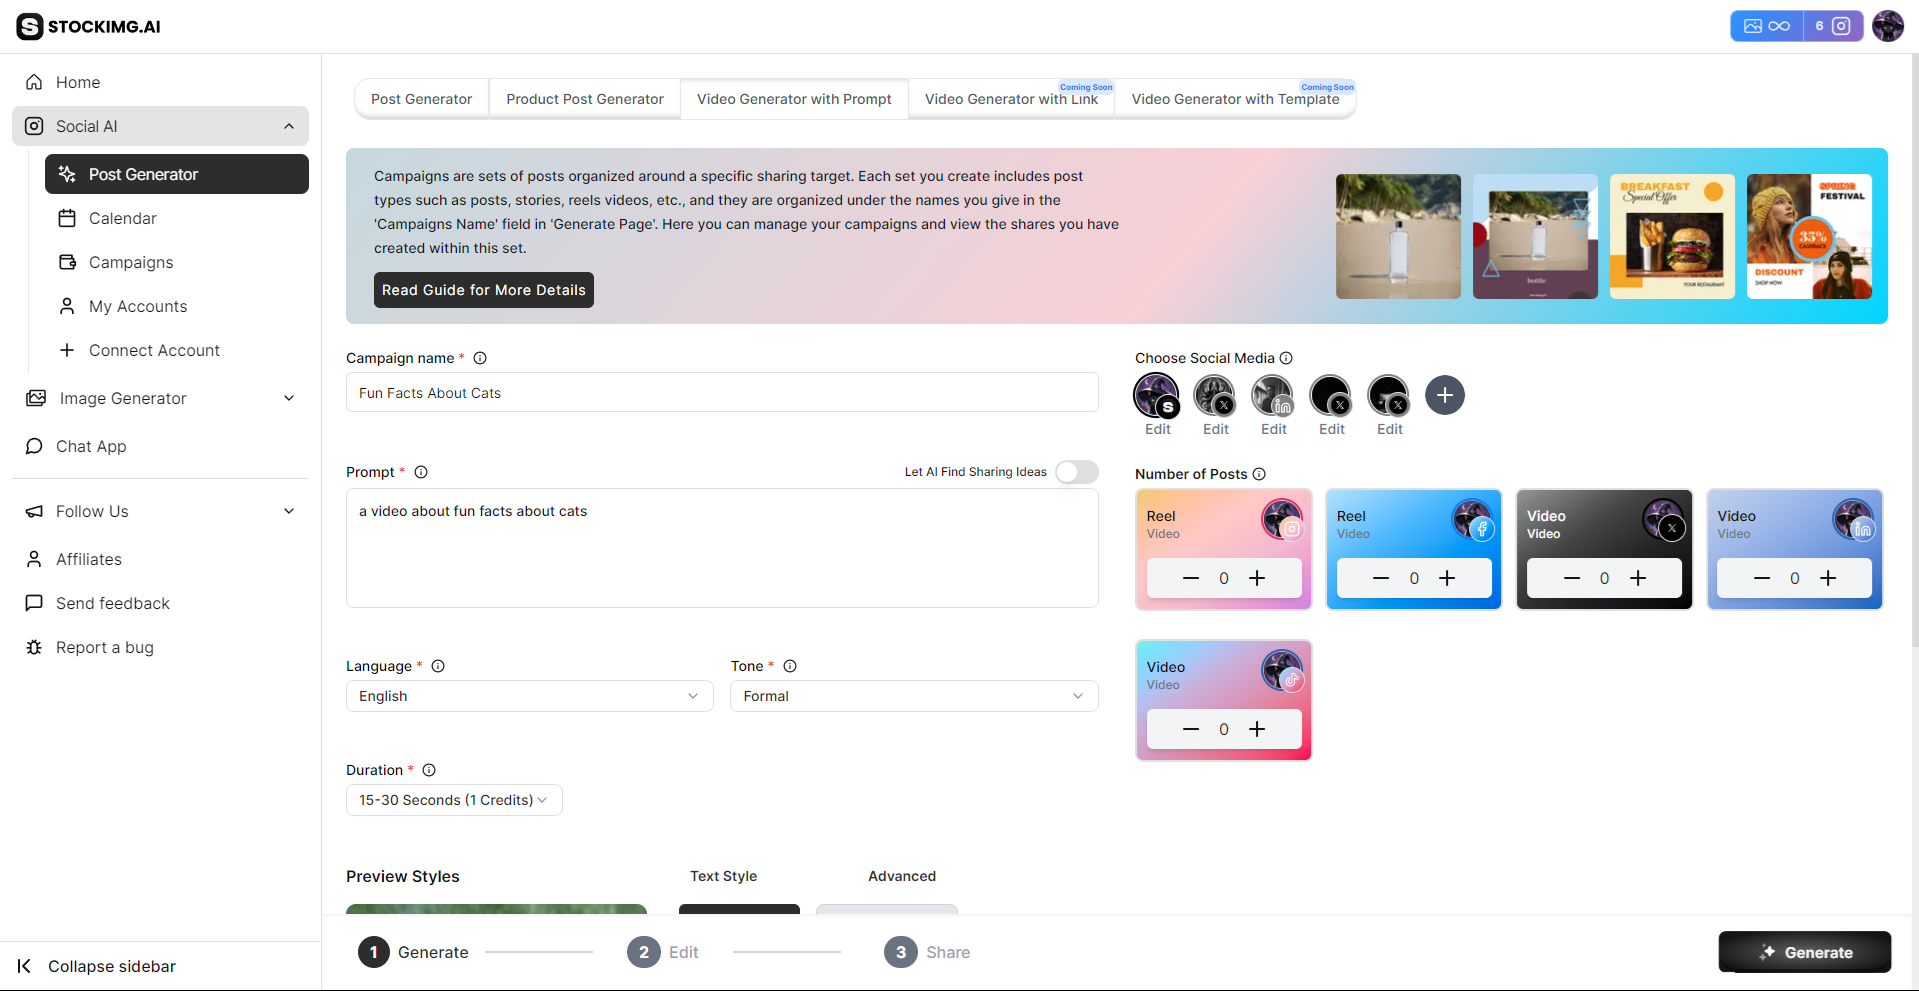
Need a quick video for your social media feed? The AI Video Generator takes your ideas and creates a professional-looking video with animations and transitions. Everything is optimized for your own brand voice!
Calendar
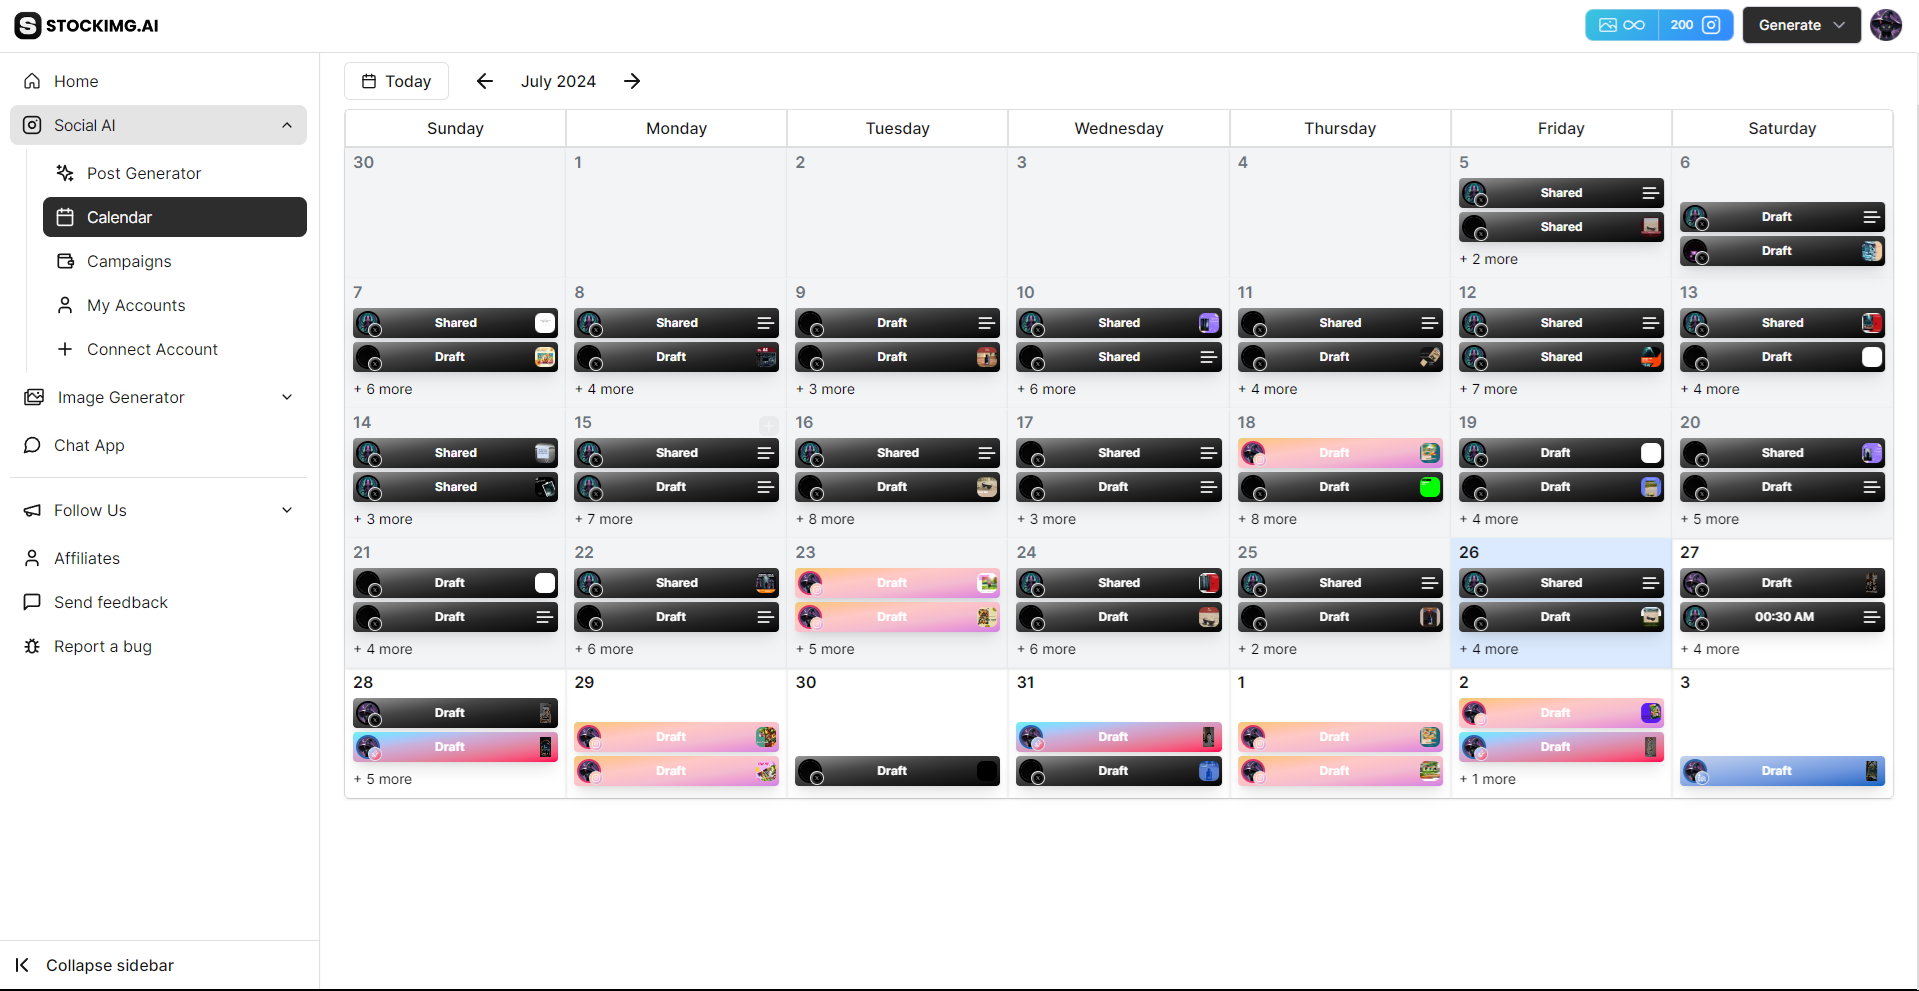
The built-in Calendar allows you to schedule posts in advance. Plan your content strategy by arranging images, posts, and videos over days or weeks. It helps you stay consistent and organized.
Accounts
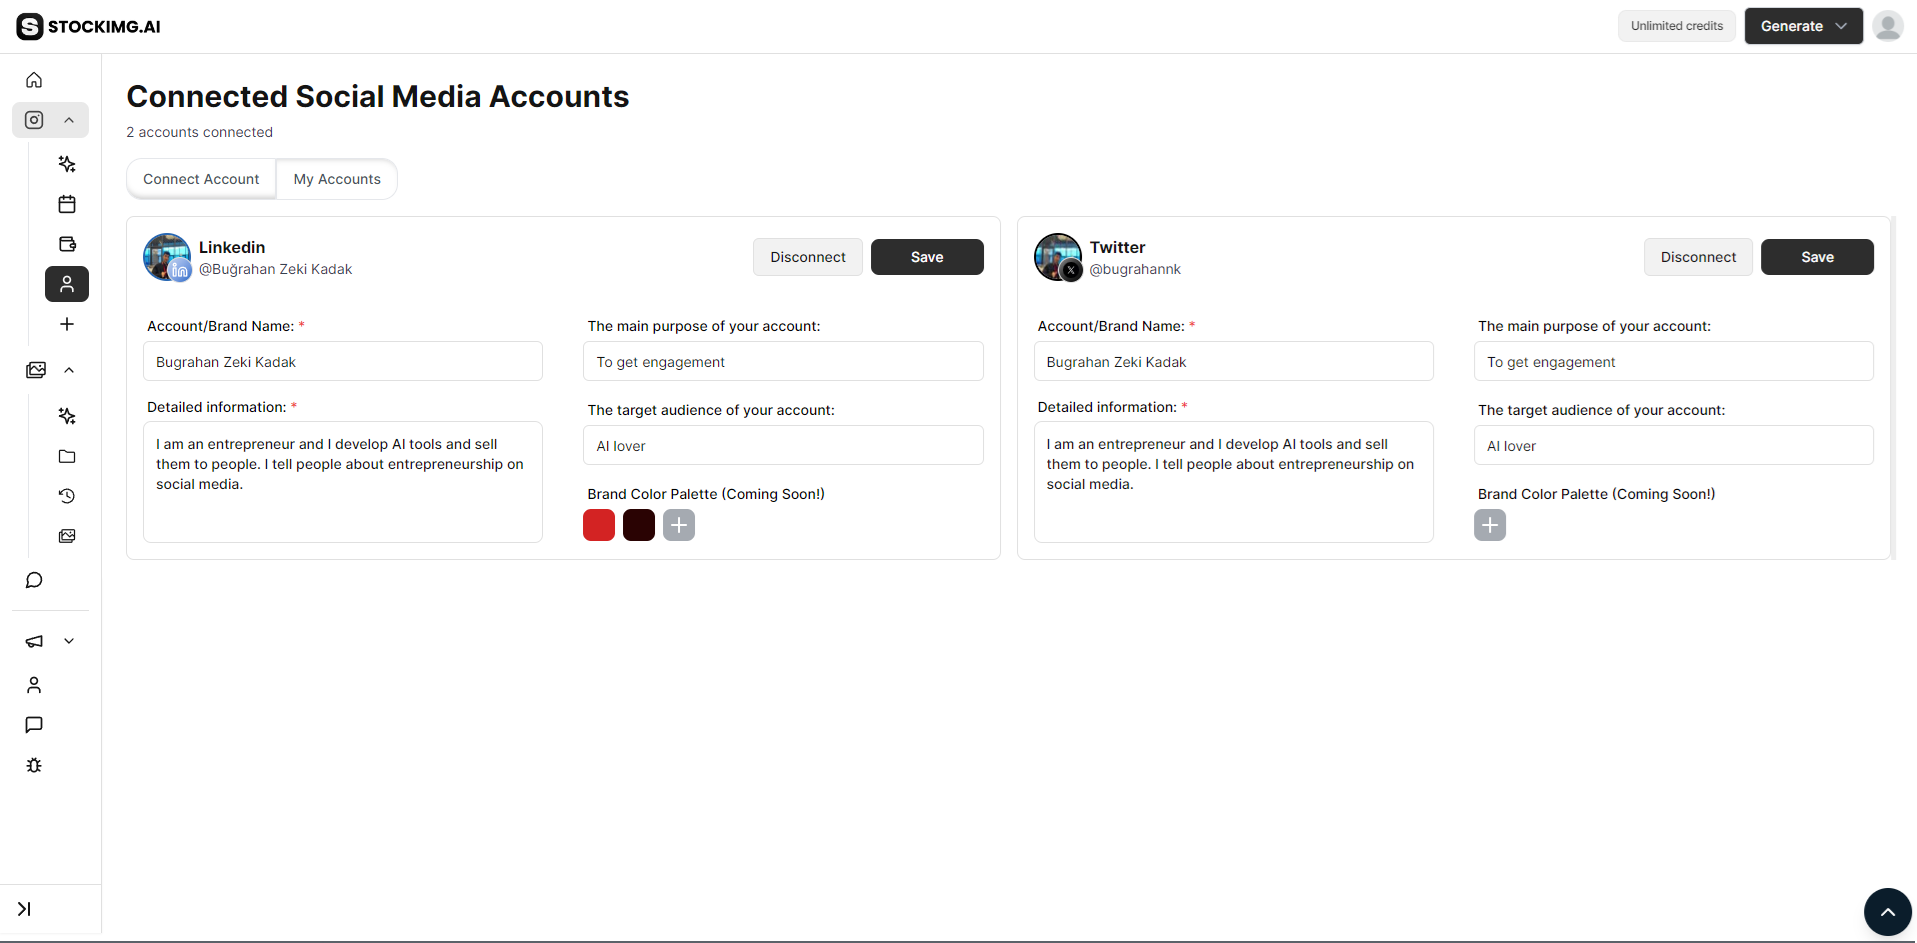
Connect your social media accounts to manage them from one place. You can track engagement, publish directly from the dashboard, and keep your audience updated without needing to log into multiple platforms.
Stockimg Social allows you to automate these platforms:
- X (Formerly Twitter)
- TikTok
- YouTube Shorts
Managing Your Account
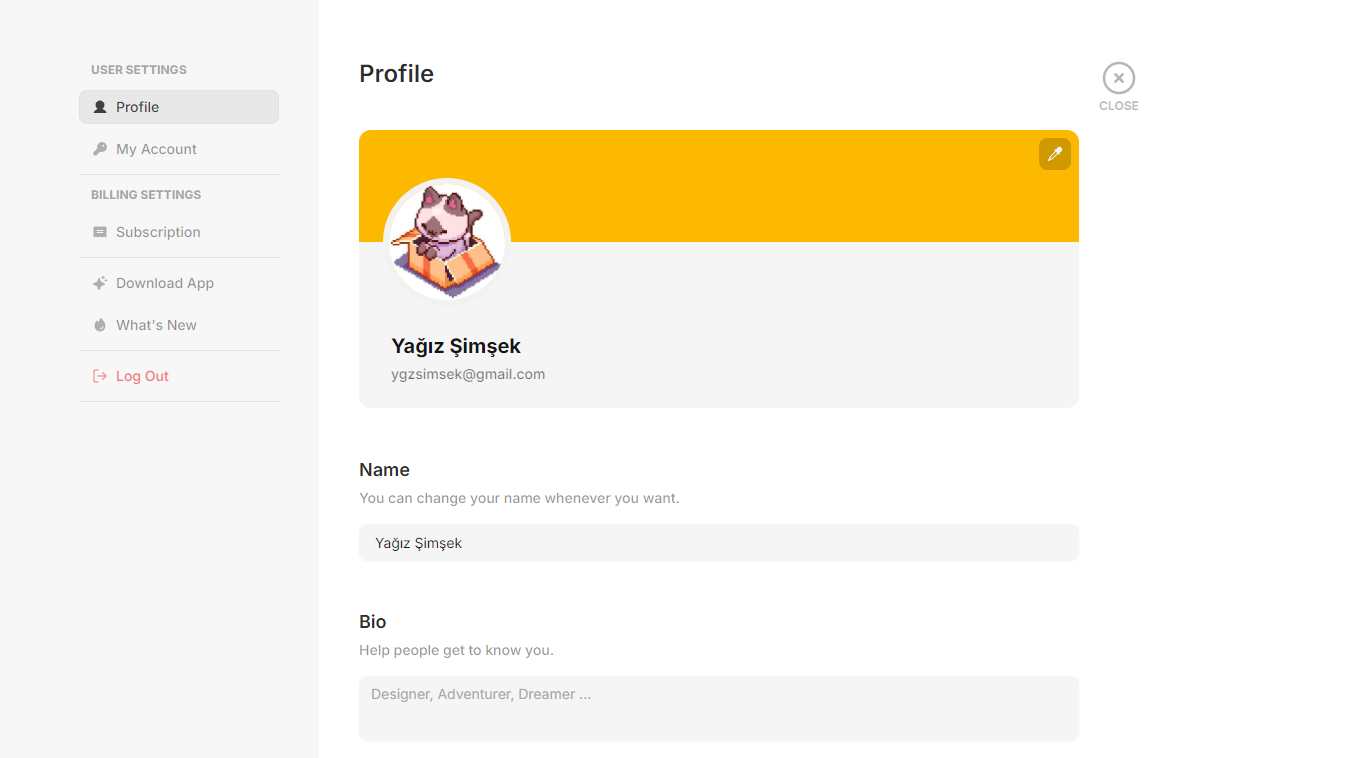
From the "My Account" section, you can manage your subscription, update your billing information, and adjust your profile settings. Keep track of your usage and explore additional features or upgrades offered by Stockimg.ai.
Support
Got questions? We’ve got you covered! Reach out anytime at [email protected] for assistance with all your queries.
Need a more personalized touch? You can also book an online meeting with our team here to get direct support and guidance. We're here to help!
Frequently Asked Questions (FAQs)
What is Stockimg.ai?
Stockimg.ai is an AI-powered platform that allows users to generate high-quality images, social media content, and videos with ease. It also features tools for content scheduling and social media management.
How do I generate images with Stockimg.ai?
To generate images, navigate to the "Generate Page" on your dashboard, input your desired prompt, select a style, and hit "Generate." The AI will create a custom image based on your input.
Can I edit the images after they are generated?
Yes! After generating an image, you can edit it using Stockimg.ai's AI-powered editor. You can tweak elements, apply filters, or adjust details to meet your specific needs.
What categories of images can I generate?
You can generate images in a variety of categories, such as stock images, logos, social media templates, posters, book covers, product photos, and more.
What is the Stockimg Social Suite?
The Stockimg Social Suite is a toolset designed to help users create, schedule, and post AI-generated content across multiple social media platforms like Instagram, Facebook, LinkedIn, TikTok, and YouTube.
Can I schedule social media posts with Stockimg.ai?
Yes, with the integrated Calendar feature in the Social Suite, you can schedule posts, plan your content strategy, and manage your social media campaigns efficiently.
What social media platforms can I manage with Stockimg.ai?
Stockimg.ai supports Facebook, Instagram, X (formerly Twitter), TikTok, YouTube Shorts, and LinkedIn, allowing you to automate posts and manage accounts from one place.
How can I get support if I encounter issues?
You can reach out to [email protected] for any questions or issues. Alternatively, you can book an online meeting for personalized support here.
How do I manage my Stockimg.ai account?
You can manage your subscription, update billing information, and adjust profile settings in the "My Account" section of your dashboard.

